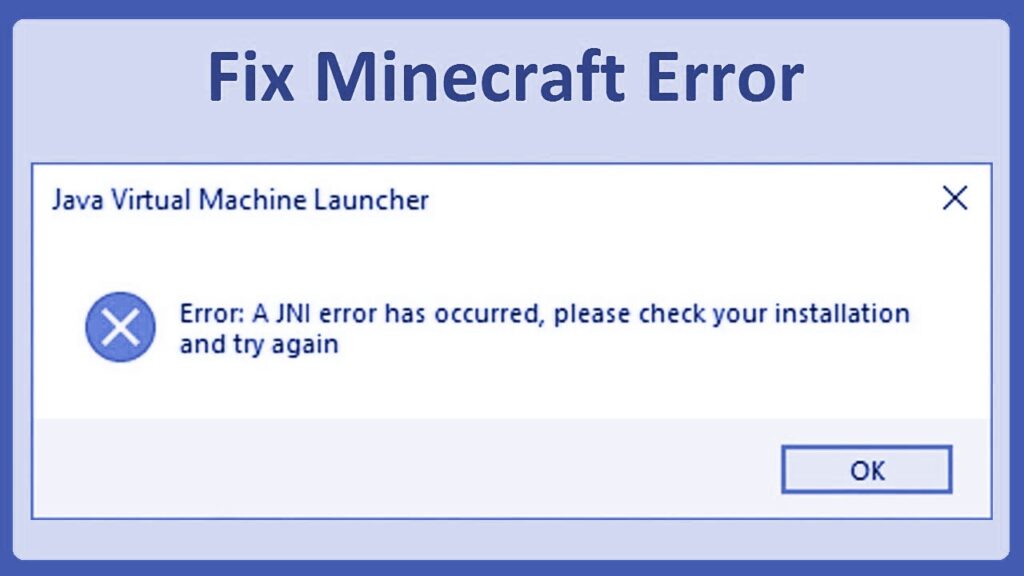
First, we need to know what is JNI Error
JNI (Java Native Interface) Error is an error that occurs when the Java Virtual Machine (JVM) cannot access the native code (code written in a language other than Java). The JVM is what runs Java applications, and the native code is code written in a language such as C or C++.
JNI error is most commonly seen when trying to run a Java application, such as a game like Minecraft. JNI errors are typically caused by missing libraries, wrong versions of libraries, or incorrect classpaths.
To sum up, a JNI error is a problem that arises when the Java Virtual Machine is unable to access native code. The most common cause of this error is missing libraries, wrong versions of libraries, or incorrect classpaths.
Why JNI error occurs in Minecraft?
JNI errors can occur in Minecraft for a variety of reasons, with one of the most common being an outdated version of the Java Runtime Environment (JRE). If a user is running an outdated version of JRE, then the game may experience instability or even crash due to incompatibilities between the game engine and the JRE.
Additionally, a user may experience a JNI error if they have installed a mod or a plugin in Minecraft that conflicts with the game engine. It is important to note that the cause of a JNI error can be different for each user, so it is important to understand the root cause before attempting to fix the issue.
Another cause for a JNI error can be due to hardware limitations. If a user does not have the necessary hardware to run Minecraft properly, such as a graphics card or a processor that is not powerful enough, then the game may crash due to the lack of resources available to run the game. Lastly, a user may experience a JNI error if they are using an outdated version of their operating system or if the computer has been infected with malware or viruses

Following method to fix it:
A JNI error can be a frustrating experience for a gamer playing Minecraft. This error usually occurs due to incorrect Java installation or Java version incompatibility. You may solve this mistake using a number of techniques, which is, fortunately, so you can resume playing.
- The first and most basic approach is to make sure you have the correct Java version installed. Java 8 or later must be installed for Minecraft, so double-check. Make sure your operating system satisfies the prerequisites.
- Another method to fix a JNI error is to delete all the Java files and reinstall Java. That way, you can be sure you have the latest version. Additionally, if you’re using a 64-bit version of Java, you should use the 64-bit version of Minecraft as well.
- You could perhaps attempt to update the graphics card’s drivers. This is particularly valid if the mistake happens when you’re in the game launcher. By visiting the official website of the business that produces your graphics card and downloading the most recent drivers, you may achieve this.
- Finally, if you’re still having issues, you can try running Minecraft in compatibility mode
Some other ways are:
1. Install a newer version of java on your pc
Installing a newer version of Java on your PC can be a great asset when it comes to running Minecraft. Java is the main software used to power Minecraft, and if the version of Java you are currently running is out of date, you could be missing out on some of the benefits that a newer version provides.
Java is regularly updated to provide the most up-to-date and secure version of the software. The latest versions of Java have improved memory management, performance, and security. Additionally, newer versions of Java have fewer bugs, which can help prevent any unexpected crashes or errors.
It’s crucial to remember that an older version of Java can be to blame if you are currently encountering a JNI problem in Minecraft. To upgrade to the most recent version of Java, the installer must be downloaded from the official Java website. After downloading the installer, launch it and complete the installation by following the prompts on-screen.
Once Java has been updated, you may need to restart your PC in order for the changes to take effect. After restarting, open Minecraft and check to see if the JNI error is resolved. If not, you may need to update the game files or reinstall the game
2. Reset java paths
Resetting Java paths is an important step to fix the dreaded “A JNI Error Has Occurred” error in Minecraft. This error is usually caused by a faulty or outdated Java installation, which can be easily corrected by resetting the Java paths.
Resetting Java Paths is a simple process that requires a few steps. –
- You must first launch the Control Panel on your computer.
- Next, identify the “Environment Variables” section by selecting the “Advanced” option. The Environment Variables window has two sections: “User Variables” and “System Variables” once you’ve opened it.
- Scroll down to the “Path” variable in the “User Variables” section.
- Select “Edit” with the right mouse click. After that, remove the current entries and replace them with the new route. The whole path to your Java installation must be entered, as well as the full file name of the executable (often ‘javaw.exe’ or ‘java.exe’).
- Scroll down to the “Path” variable in the “System Variables” section. Select “Edit” with a right-click on it. Afterward, remove the current entries and then paste the new route.
3. Install Minecraft-compatible library
Installing Minecraft-compatible libraries can help enhance your gaming experience, as the libraries provide access to the latest features and content. In this blog section, we will cover the basics of installing Minecraft-compatible libraries and the potential errors you might encounter.
The first step in installing a compatible library is to make sure it is compatible with your system. You will need to check the system requirements to see if your system meets the minimum requirements. If it does, then you are ready to begin downloading the library.
Once you have downloaded the library, you will need to extract the files and locate the appropriate files for the version of Minecraft you are running. Make sure to place the library in a location where you can easily access it.
Once you have properly installed the library, you will need to configure your system to use the library. Windows users should open the control panel and select “Systems and Security.” Then, select “Systems” and click on the “Advanced System Settings” link. From there, you will need to select “Environment Variables” and then add the path to the library
Conclusion:
In conclusion, a JNI error in Minecraft can be a frustrating experience. It is important to take the necessary steps to ensure that your computer is up to date with the latest version of Minecraft and that the game files are completely updated. Additionally, it is recommended to check for any compatibility issues between Minecraft and your computer. If all else fails, it is best to contact the developers of Minecraft for further help and support.


