
")
Emulators are software that can emulate a particular operating system in another. Like when you install an Android emulator on Windows PC, it can emulate the Android operating system onto your Windows system. By far, this is the most common form of emulator app in use and has been downloaded by millions so far.
Android emulators are programs that create the Android OS environment in Windows OS or macOS. Hence you can download Android apps and games from Play Store on Windows or Mac systems. These apps consume a huge amount of system resources including RAM and are also graphic intensive. Mostly gamers, students, and developers use Android emulators more frequently than others.
If you too need to install an Android emulator, why not start by reading this blog which talks more about the installation process of emulators.
How Android emulators can help us?
Before telling you the process of installing an Android emulator on your Windows PC, learn more about why professionals need these emulators.
- For development purposes: Developers need it to test the viability and the effective running of programs between different types of systems and devices. Developers can test their apps in real-time with Android emulators. They can also watch out for bugs and record improvements with their help. Developers use Xamarin, Genymotion, and even Android Studio’s emulator every time they need to.
- For gaming: Gamers love gaming and the bigger the screen the better is what they all want. Android emulators are the only way, they can achieve a larger screen gaming experience. You can avail of better functionalities without facing any ethical issues when using an emulator for your games. Favorite emulators for gamers are Nox, Bluestacks, and MeMu.
- For attending courses: Mostly attending classes on a larger screen seems to be an enticing source for students. Thus, they often emulate their courses on a larger screen to better grasp the subjects and topics.
- For addressing productivity challenges: Emulators can help in extending the productivity of people. Cheaper Chromebook availabilities provide an excellent source for their extra productivity.
How to download and install an Android emulator?
BlueStacks is quite a popular android operating system for pc and also for macOS. It is extremely suitable for operating Android platform games on Windows PC. Let us now walk you through the steps of installing the BlueStacks Android emulator on your Windows PC. But first, take a sneak peek at the system requirements.
System requirements for installing BlueStacks:
| Parameters | Minimum System Requirements | Recommended System Requirements |
| OS | Windows 7 and above | Windows 10 |
| Processor | Intel or AMD | Intel or AMD multi-core processor |
| RAM | 4 GB | 8 GB or higher |
| Graphics | Intel | Intel/Nvidia/ATI |
| HDD | 5 GB free disk space | SSD |
| Internet Access | Yes | Yes |
Steps to download Bluestacks Android emulator on Windows PC:
The following steps enumerate the basic details of downloading the Bluestacks emulator app on your Windows computer.
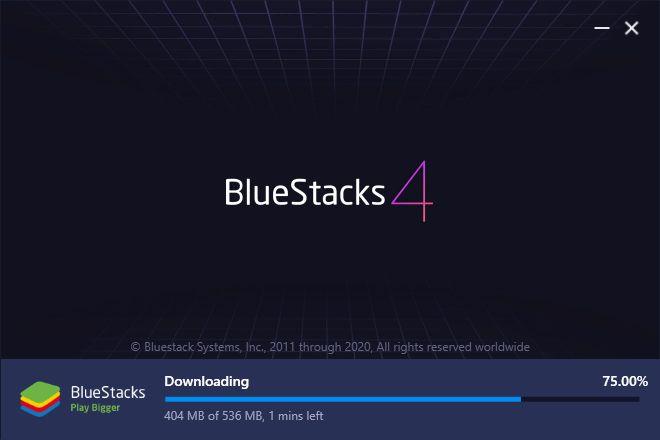
Step 1. Visit the official website of BlueStacks and hit the “Download BlueStacks” button to download BlueStacks 4.
Step 2. Once the download completes you can click to launch the installer.
Step 3. After this, the installer will run to complete the process of installation. You will receive a prompt to approve the parameters of the installation. Once you do this, the app player and directory will automatically install on your PC’s C drive. You can also click on the “Customize installation” option to specify installation instructions.
You must remember to choose a drive with an ample amount of space because post-installation, all the apps, and games you download will be stored in this directory and it can’t be altered further.
How to set up your Google account?
After you have finished installing BlueStacks 4 emulator app on your Windows computer, the app will open automatically on your Windows screen and you will then be prompted to link your Google account to continue further. This should be the same Google account with which you access Google Play on your Android smartphone. Once you log in with your credentials, you will have access to all your app downloads and games from your Windows PC.
Conclusion
With this article, you know how to install an Android emulator on a Windows PC. You also know the reasons for using the emulator and if you fall in one of the above groups, do go ahead and immediately install an emulator of your choice. Make sure to thoroughly read about the emulators before you use them.
