

Building an online store for your business can be intimidating, especially if you are not technically inclined. But don’t worry, you’re not alone. The good news is that with top eCommerce website builders like Shopify, creating an online store has been easier these days.
This guide will assist you in determining the best method for you and show you how to set up an online store step by step.
Start a Free Trial for Shopify
Before we get started, you’ll need to sign up for a Shopify free trial. Taking a free trial can help you know the functionality Shopify holds for its stores.

Here’s a quick checklist of what you’ll need before you start:
- A business idea
- A business name
- A logo
- Products to sell
- Photos
How to Make a Shopping Website
1. Add Your Products
Adding products to the store should be the first thing to do because your products will be the basis for the look and feel of your website.
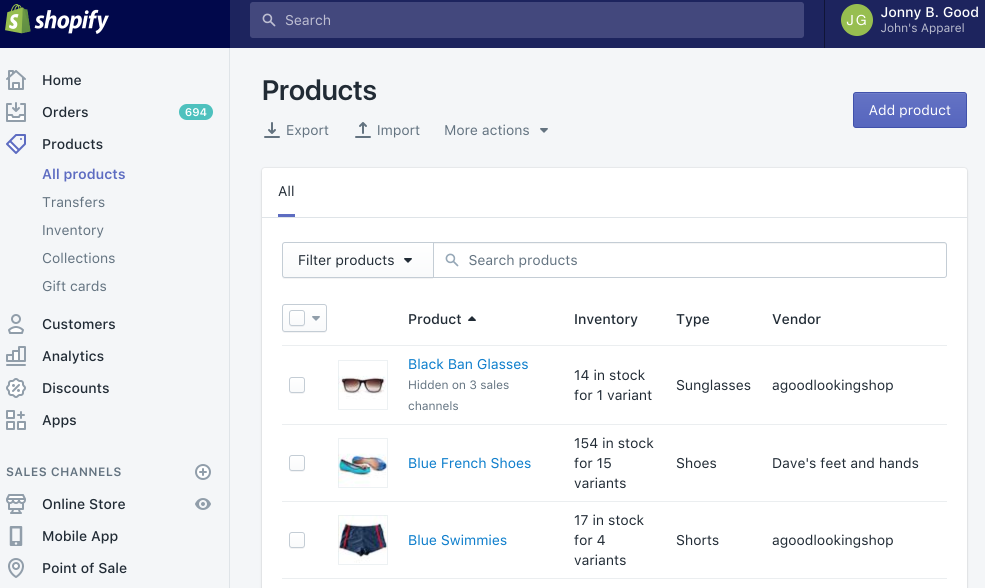
While adding products to your site, we’ll have to make several decisions. We’ve broken them down into steps for you.
- Make a title for your product and a description for it.
- Upload media to support products
- Decide on a price.
- Inventory
- Shipping
- Variants
- Product availability and organization
- Preview of a search engine listing
- Creating collections for your products
2. Create Store’s Key Pages
To start your online store, you’ll need more than just products. It should make it easier for customers to understand your business, give them reasons to trust you, and provide other important information to customers looking for it.
You don’t need to have all of your pages ready for launch, but the following are some of the most useful to create:
- Contact page
- About page
- FAQ page
- Policy page
3. Create a Fully Customized Store
Here we have mentioned some factors to take into consideration if you want to make your store unique. These elements will assist you in making the most of your online store.
Pick a theme.
This serves as the foundation for your website. When building your store, keep these key points in mind when selecting a theme:
- Select a theme that corresponds to your product catalog.
- Check to see if the theme you’re considering has any built-in features.
- Don’t choose a theme based on colors or fonts. You can change them according to your store’s needs.
- You can try out a paid theme for a one-time fee before purchasing it.
Design Your Homepage
Consider the goals that a homepage must achieve and how they apply to your specific business when deciding on a homepage design. Hiring a Shopify web development company to design your store can be a great choice as they will help you customize your store according to your customers’ needs.
Customize Your Navigation Menus
You don’t want to overwhelm people right away with too many options. Instead, you can prioritize the actions you want visitors to take by organizing your navigation—with a focus on shopping, of course.
Set Your Colors, Typography, and Other Theme Settings
Colors and typography are important aspects of your brand’s visual identity and should be considered when creating your online store.
Customize Your Checkout
You can also change the appearance of your checkout. It’s a good idea to add your logo to your checkout at the very least to give it a branded feel.

Here’s a quick rundown of the options available for your checkout:
- You have the option of requiring customers to create an account during the checkout process. This can come in handy if you run a wholesale or members-only store.
- After a customer places an order, you can let them choose how they want to be contacted by you (email or SMS text messages).
- You can choose whether additional information, such as a first name or company name, is optional or required during the checkout process.
- You can find ways to speed up the ordering process or add a second confirmation step.
- You can grow your email list simultaneously as you grow your customer list by allowing customers to sign up during the checkout process.
- You can send an automated reminder email to customers who arrive at your checkout but do not complete their purchase (this can happen for various reasons).
Inquire About Feedback
Feedback is a gift, especially after you’ve spent so much time developing your online shopping website. Fresh eyes can often spot areas for improvement that you don’t see, and they can provide invaluable insights into your store that you can use to make changes.
4. Arrange for Shipping
One of the most difficult aspects of running an eCommerce business is shipping. There are a lot of variables to consider, including product weights, packaging costs, shipping destinations, carrier rates, and your potential profit per order.
Here’s a mix of shipping methods that will work for you:
- Give away free shipping.
- Charge carrier rates that are updated in real-time.
- Charge a set fee.
- Local pick-up/delivery is available.
5. Create a Tax System
When you run a business that sells goods or services, you must collect taxes to send to the government every time someone places an order with you (some exceptions apply, such as for digital goods in many jurisdictions).
Most tax calculations will be handled automatically by Shopify using default sales tax rates worldwide. Even so, it would be best if you did some research or consulted with a tax professional to ensure you’re charging the correct amount of sales tax.
If your region has specific tax requirements, such as taxes on specific products or shipping, you can override the default tax settings.
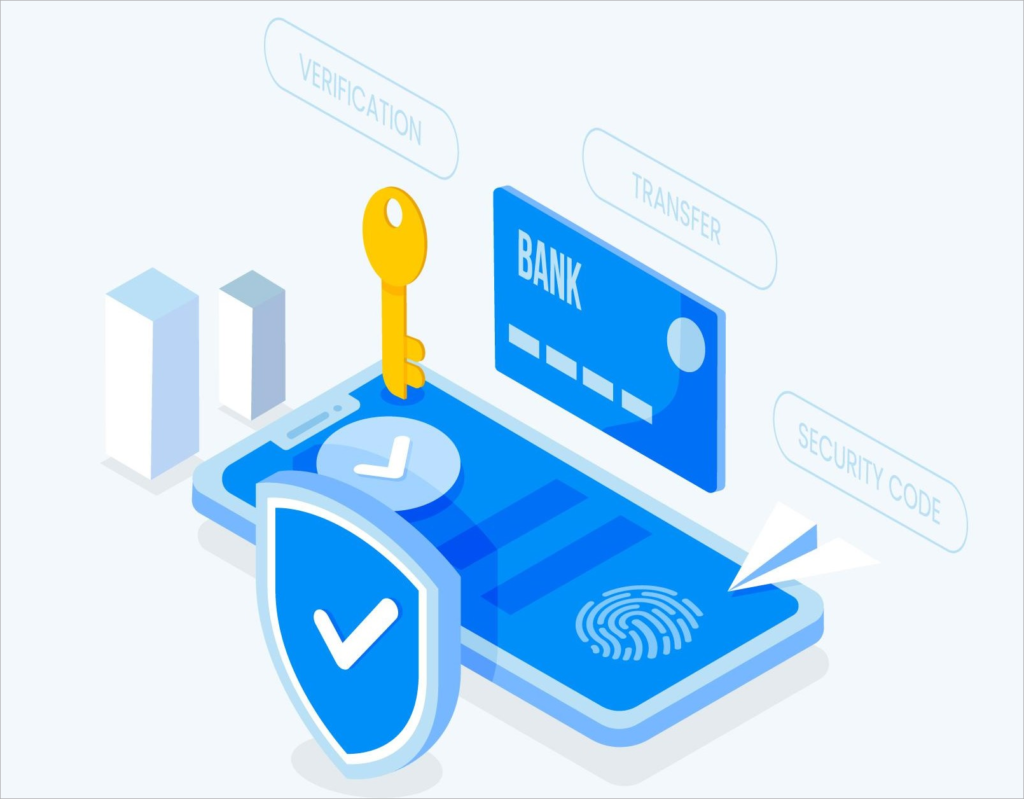
6. Payment Gateways and Payouts Setup
With Shopify Payments, it’s simple to start accepting all major forms of payment. You can activate Shopify Payments in just one click and pay 0% extra transaction fees if you operate your business in one of the supported countries and aren’t considered a prohibited business. You can also offer your customers additional payment options, such as PayPal, by selecting from over 100 third-party payment providers.
7. Make an Online Store Ready for Launch
Based on our work so far, we could launch our store right now if we wanted to.
The following are the final steps we’ll go over:
- Adding a custom domain to your website
- Putting in place relevant sales channels (Optional)
- Customizing your email/text message alerts
- Creating a marketing strategy for your store (tracking and analytics)
8. Open Your Shop
Last but not least, double-check your store’s settings before hitting publish! Your store will not function properly if the settings are incorrect.
Take a look at the following required settings.
Language: Choose the language your customers will see when they visit your website.
Currency: Choose your preferred currency you want to be shown along with your products on your Shopify store.
Timezone: Setting the correct timezone aids in the tracking of your orders.
Address: Display your contact information, including your address.
Store Name: This is how your store’s emails, homepage, and online searches will appear.
Contact Details: A public phone number and a customer-facing email address.
Order settings: Set whether or not to include tax in the price of your product in the order settings.
Product settings: you can choose which information to show to customers, such as product weight or rating.
Ask a Shopify expert plus development company if you’re unsure what these and other more obscure settings mean.
